Example Integration
VPN SERVER CONFIGURATION
Fortigate SSL VPN Integration
Adding a Radius Server
We add Coslat as RADIUS Server to enable two factor authentication (2FA) in the Fortigate SSL VPN. For this;
Click User & Device -> RADIUS Servers -> Create New button.
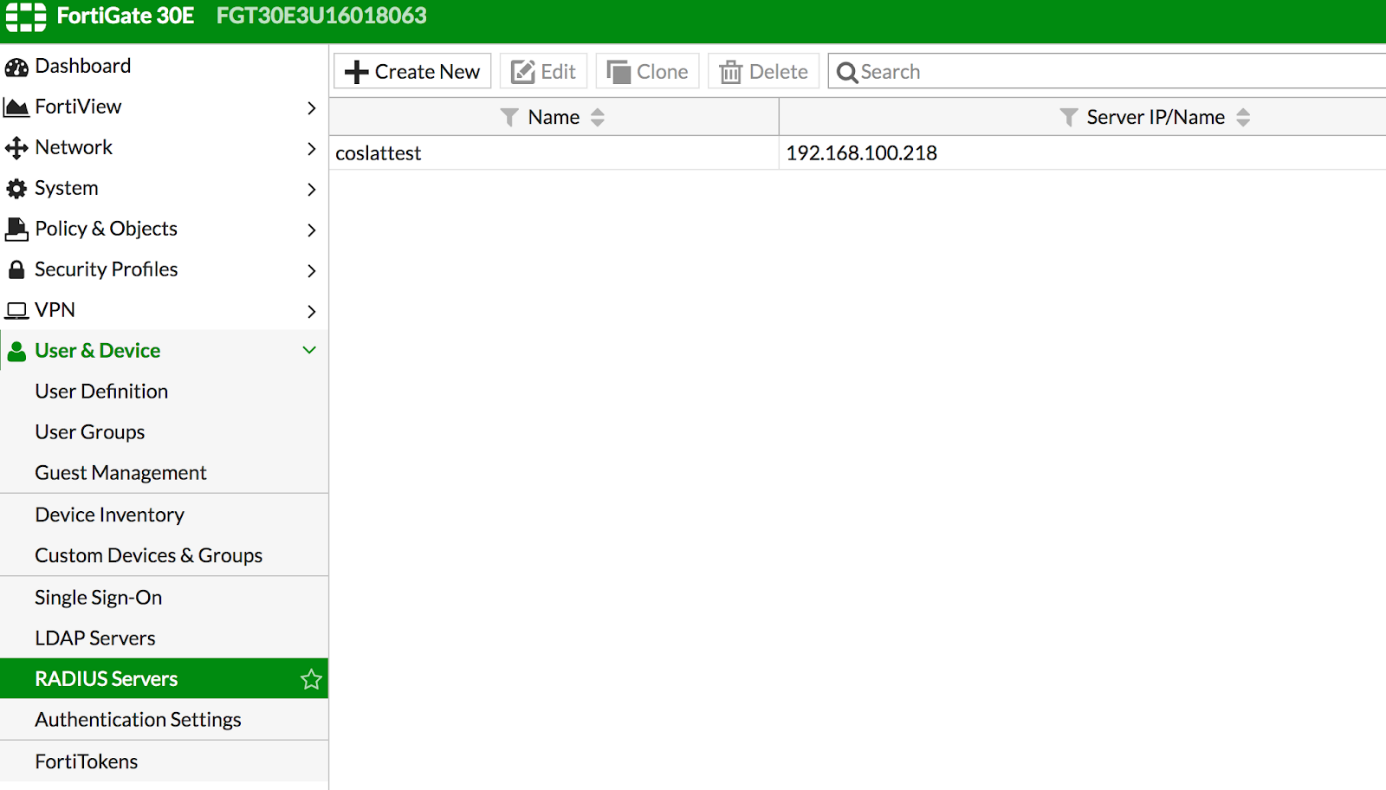
Name: Descriptive name (Coslat)
Primary Server IP / Name: Coslat 2FA ip address.
Primary Server Secret: coslat (We enter the Client Shared Secret that you defined when adding NAS / Client in Coslat 2FA.

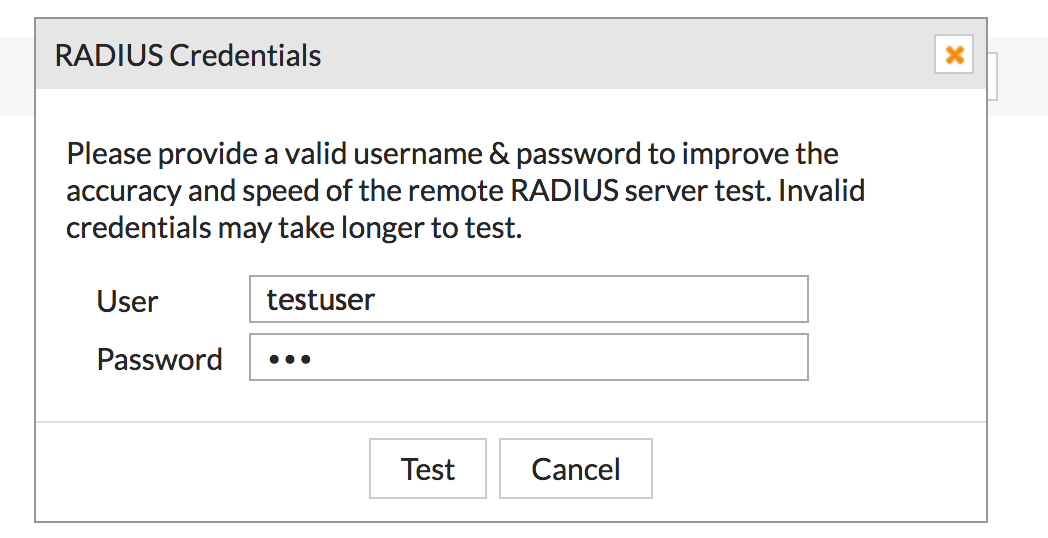
We click Test Connectivity to check the settings.
User: Username we opened on Coslat 2FA.
Password: The password of the user in Coslat 2FA.
We click on the test button.
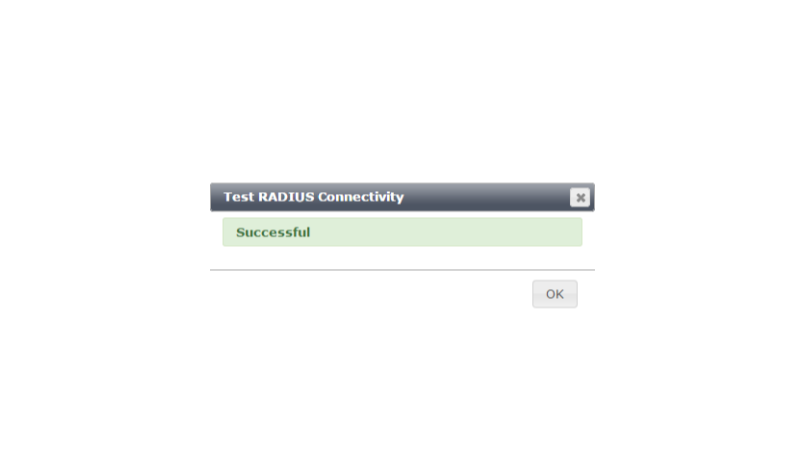
If we get the result below, our settings are correct and communication is provided.
Adding a User Group
We add an SSL VPN user group to define the required permissions. We click User & Device -> User Groups -> Create New.
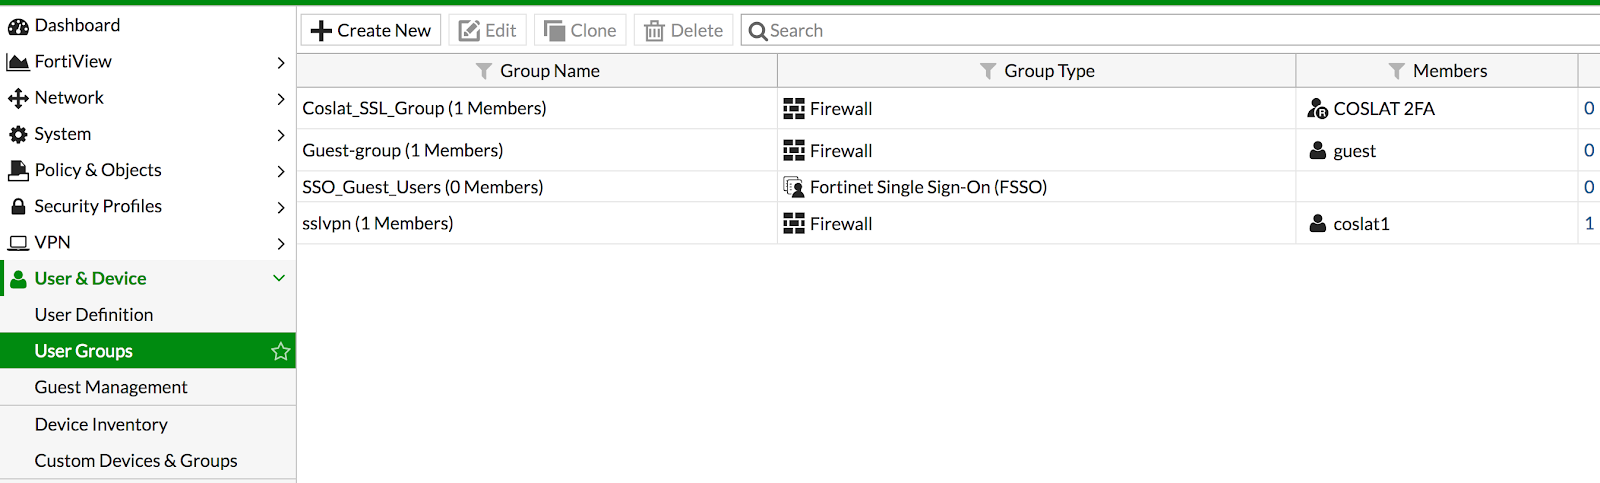
Name: Descriptive name (Coslat_SSL_Group)
Type: Firewall
Remote Groups: We click Create New here.
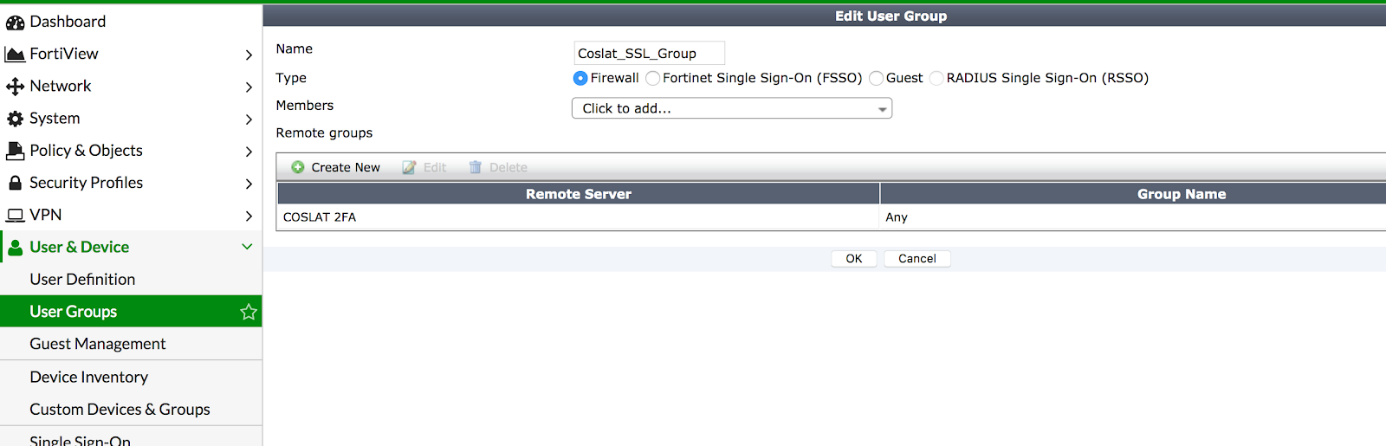
In the Add Group Match section, we choose which authentication server the users included in this group will come from.
(NOTE: If a group information will come from the server together with the remote server, we can select it here. You can assign special groups to users with + Users Attribute in the Users tab in the Coslat and you can match these groups here and apply different rules on fortigate.)
Remote Server: COSLAT 2FA

Click OK and add the group.
Setting up the Group on VPN
We add the group we created to the SSL-VPN settings.
VPN -> SSL-VPN We click Settings.
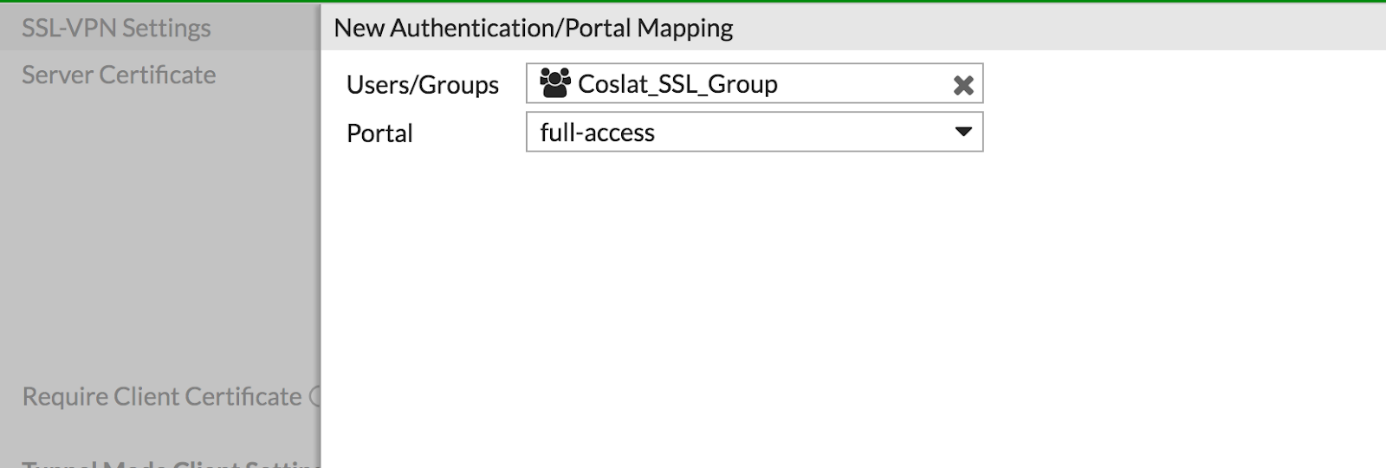
Click Authentication / Portal Mapping -> Create New.
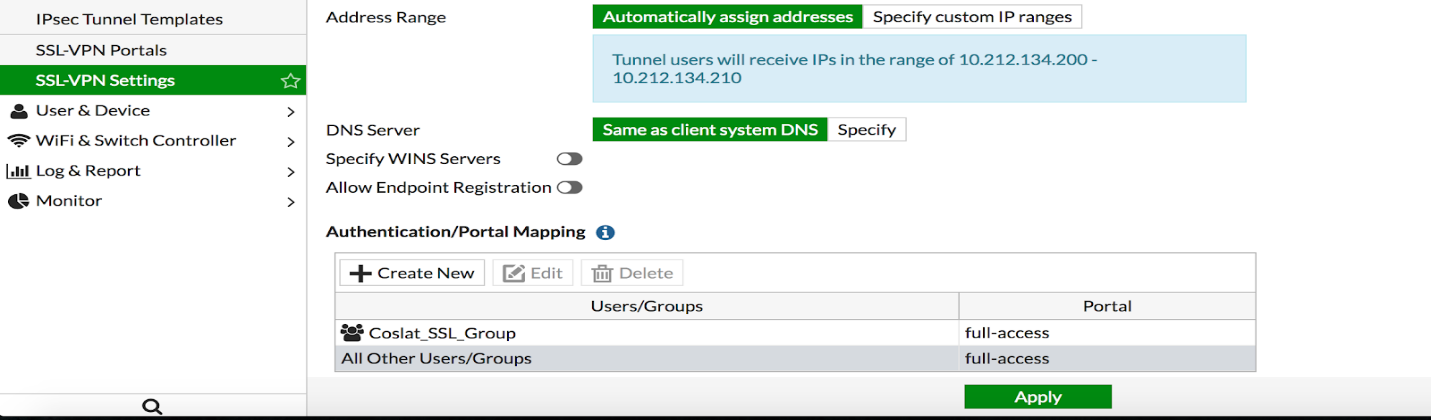
Users / Groups: We select Coslat_SSL_Group that we created before.
Portal: We choose the portal we want to use.
Click Apply and save the settings.
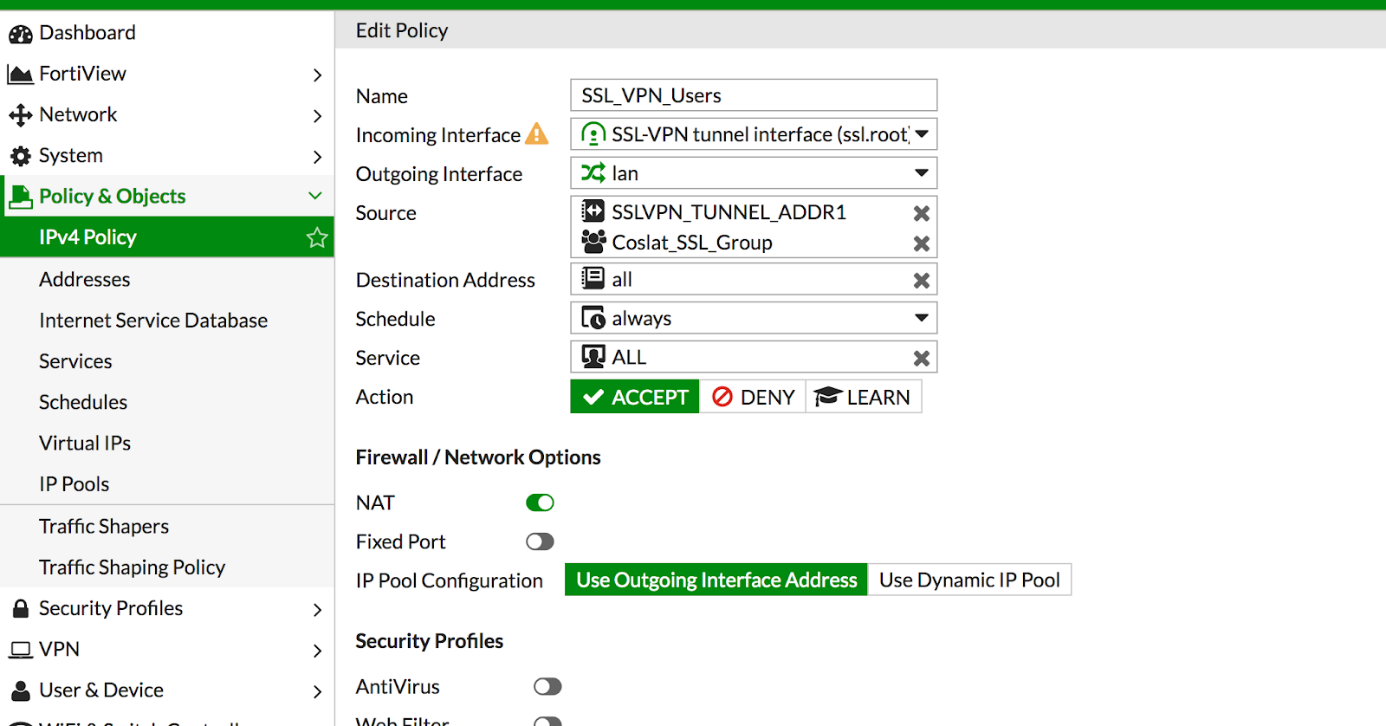
Firewall Policy Settings
Firewall rules must be defined for the VPN users to access the internal network and the internet.
For Access to Local Network;
Click Policy & Objects -> IPv4 Policy -> Create New.
Name: Descriptive name (SSL_VPN_Users)
Incoming Interface: SSL-VPN Tunnel Interface (ssl.root)
Outgoing Interface: LAN
Source: SSLVPN_TUNNEL_ADDR1 and we add the group we created earlier. (Coslat_ssl_group)
(NOTE: When adding groups here, we can apply different rules if there are different groups we match with Add Group Match.)
Destination Address: We specify the target to be reached in the internal network. (ALL)
Service: We choose which ports will be accessed. (ALL)
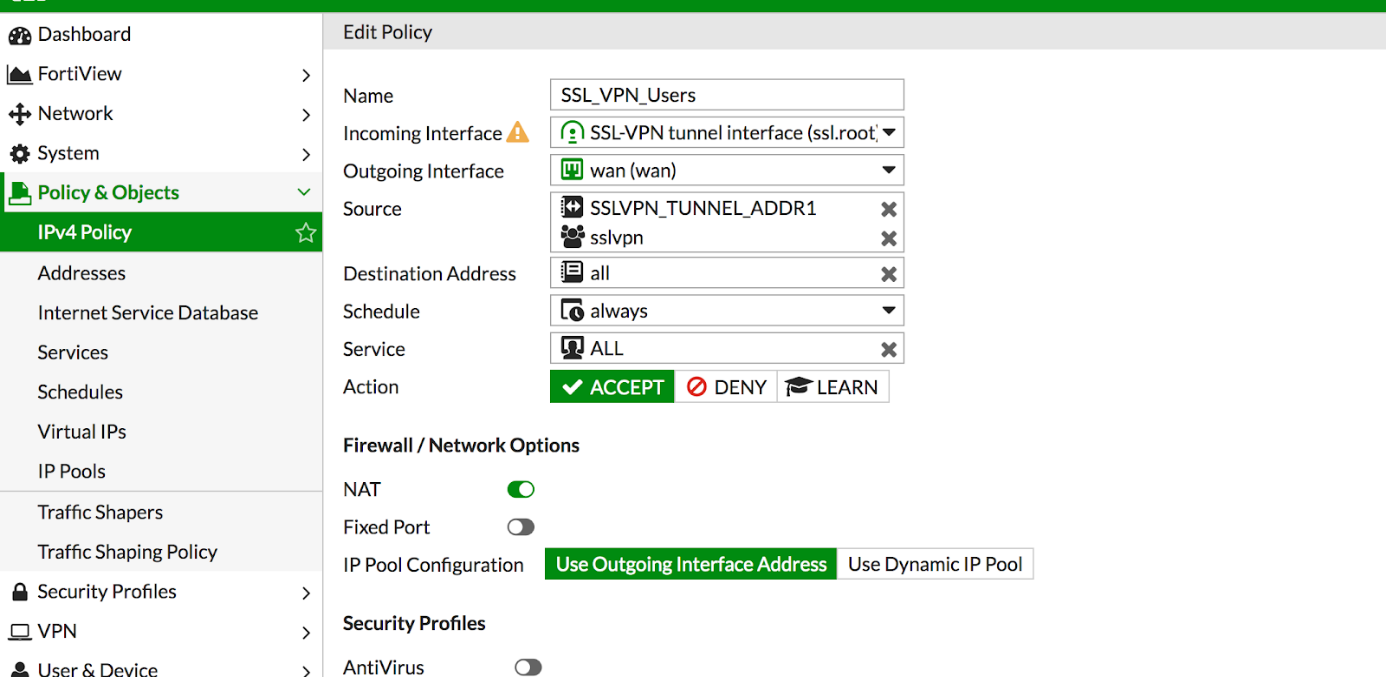
VPN users for Internet Access;
Click Policy & Objects -> IPv4 Policy -> Create New.
Name: Descriptive name (SSL_VPN_Users)
Incoming Interface: SSL-VPN Tunnel Interface (ssl.root)
Outgoing Interface: WAN
Source: SSLVPN_TUNNEL_ADDR1 and we add the group we created earlier. (Coslat_ssl_group)
(NOTE: When adding groups here, we can apply different rules if there are different groups that we match with Add Group Match.)
Destination Address: ALL
Service: We choose which ports will be accessed. (ALL)
After the VPN users have access to the internet, they can now enter their passwords and enter a connection by entering the PIN code on the second screen that comes up.
Sample entry screen ;
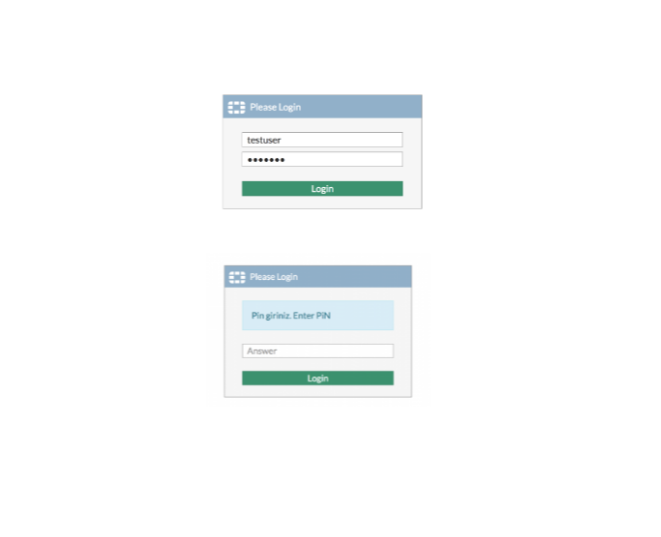
With the configuration, even if the VPN passwords of the users are stolen, the PIN code must also be known in order to establish a connection.